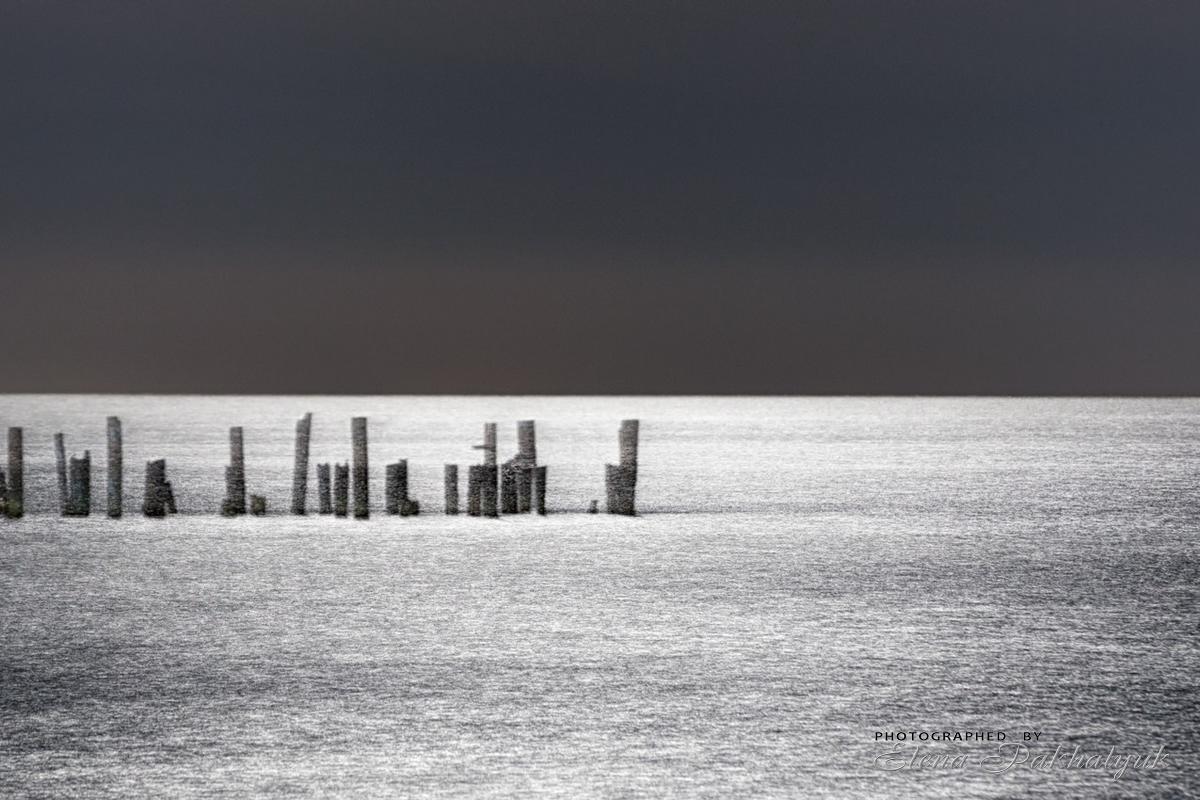
Night photo shooting has its own charm. Often, the most interesting snapshots can be done in the conditions of minimal lighting, while night photography is the most difficult in terms of both the choice of composition and technical aspects. In the daylight, the optical equipment of the camera ‘sees’ the surrounding landscape almost like the human eye, but at night, due to poor illumination, everything changes. That is why some photographers prefer not to shoot at night, missing, unfortunately, the possibility of making wonderful shots by overcoming difficulties.
What is the right way to shoot at night? Let us consider the technique in more detail.
To obtain high-quality pictures you should only shoot in RAW format. This format gives you the opportunity to record the maximum amount of data that subsequently enables you to process the image in any graphic editor (Photoshop, Camera Raw, CapturePro and so on). Moreover, the RAW format preserves all details in shadows and light. Experienced photographers also recommend duplicate images in JPG format for the case if the RAW shot is lost or spoilt.
At night, be sure to shoot using a tripod, since low light requires using compensating long exposure times. The tripod allows avoiding camera shakes in the photos. The more stable the tripod is, the better it is. It is good if it has a special hook to which you can attach additional weight for increased stability (a bag, etc.). Do not shift the tripod after installation of the camera on it. During night shooting, a remote shutter also comes in handy.
What technique is it better to choose for night photo shoots? Optimal is a wide-angle lens, a modern full-frame camera, a control panel or a cable release.
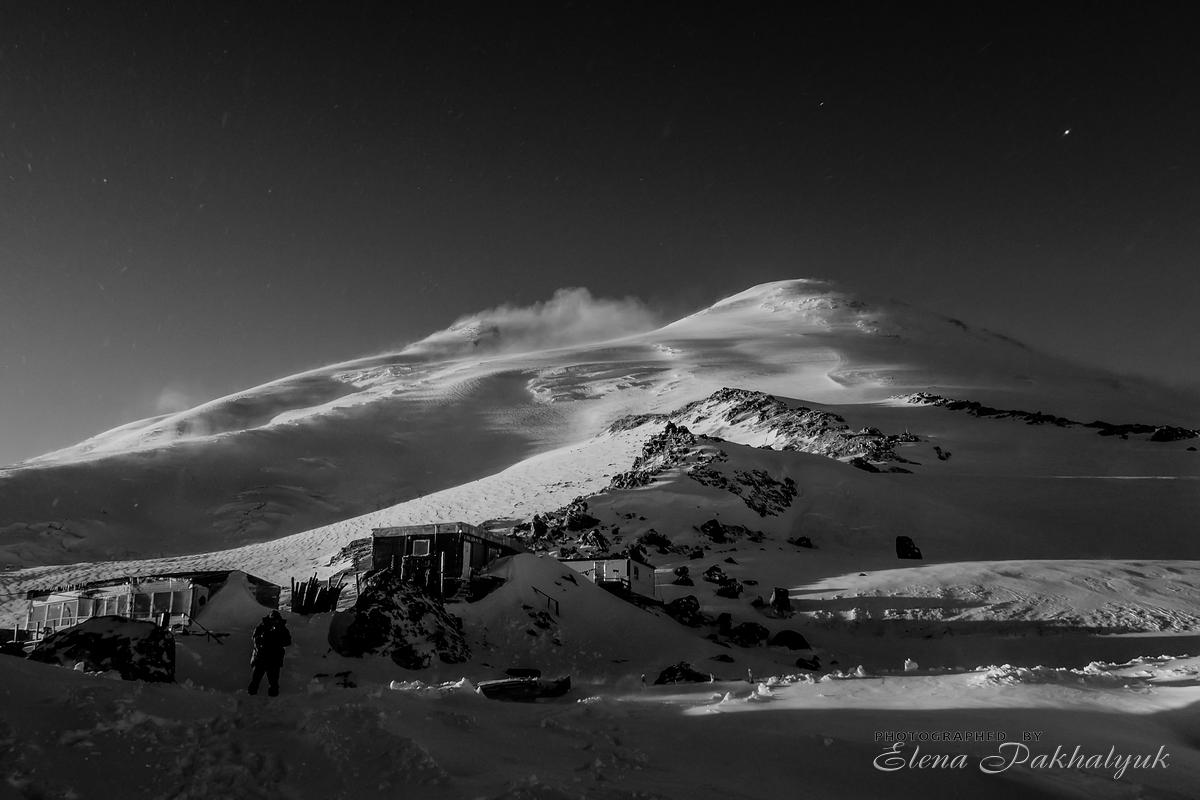
What else is necessary? If you shoot in the cold season (winter and autumn are the best to take pictures of the starry sky), then be sure to take a thermos with a hot drink with you. If you plan to photograph in the remote uninhabited location, invite companions. For sure, it is not a lot of fun to be freezing cold at night away from civilization, especially if you have an expensive equipment kit with you.
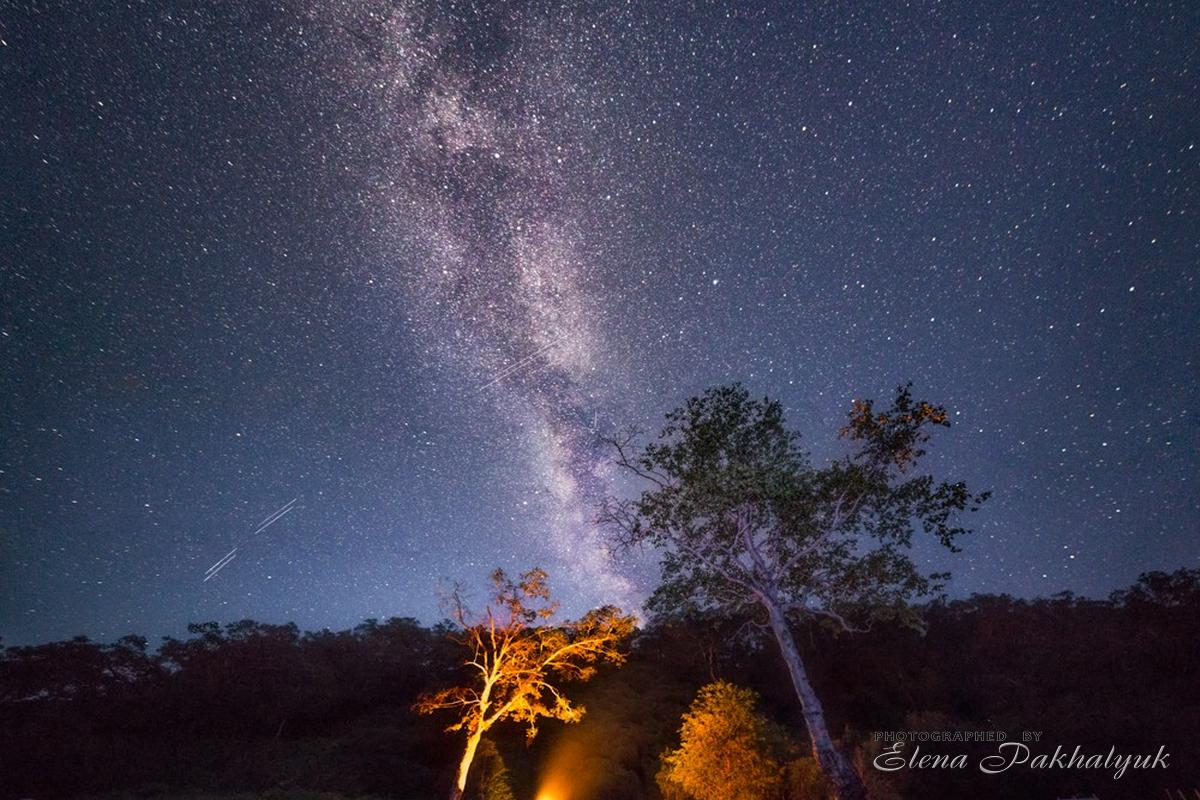
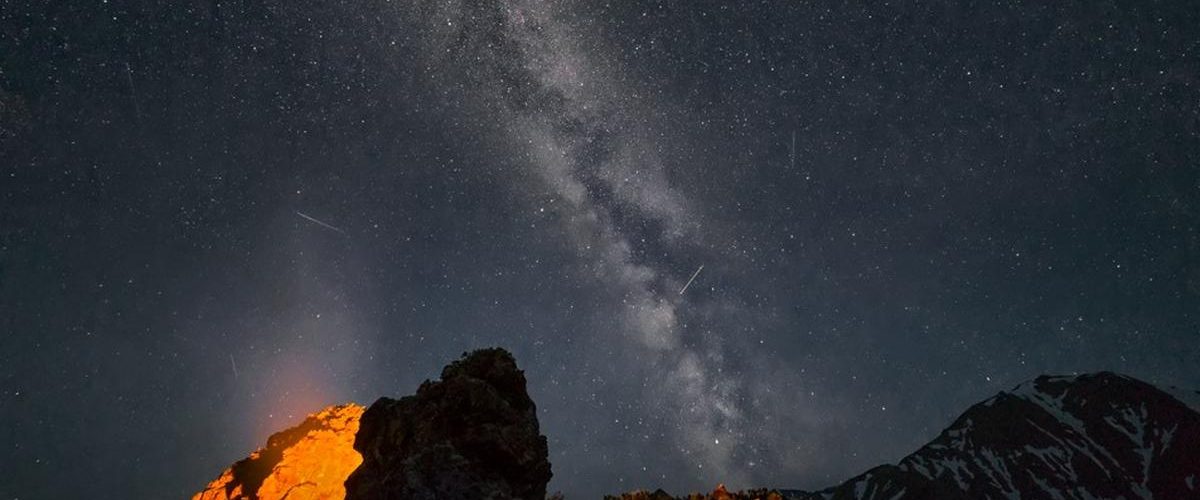
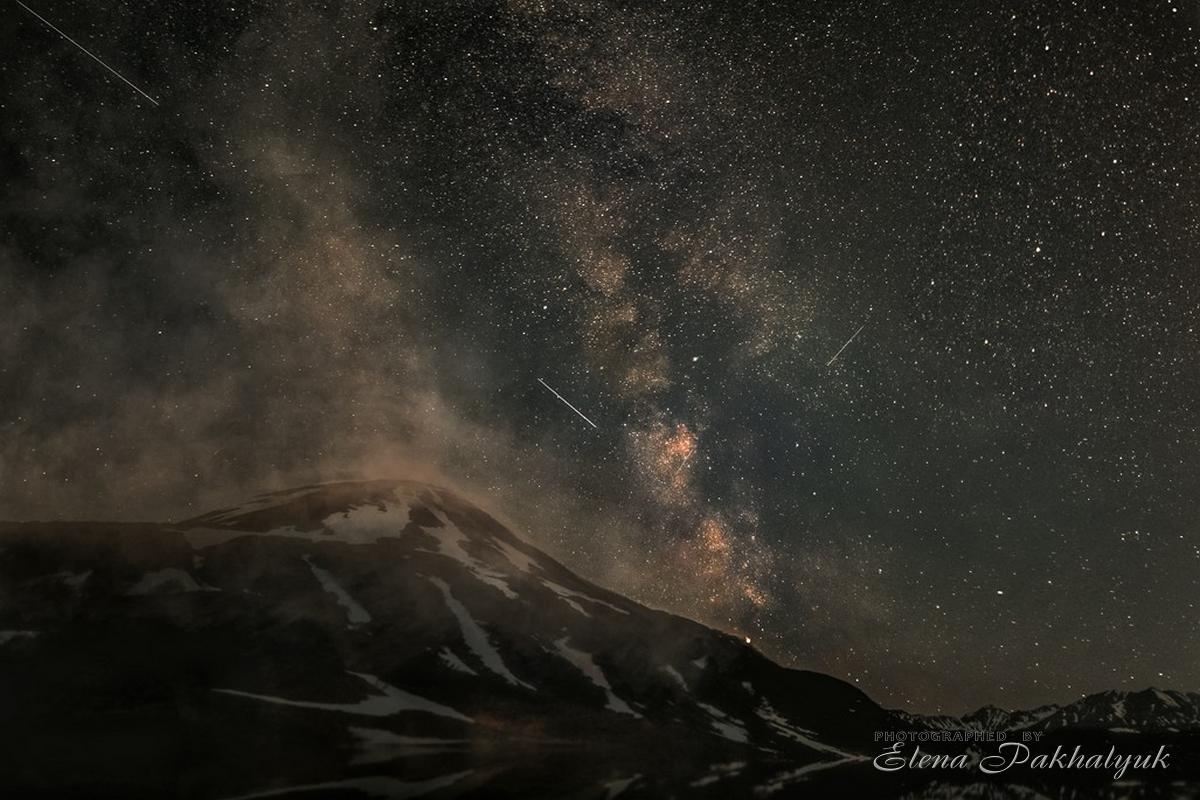
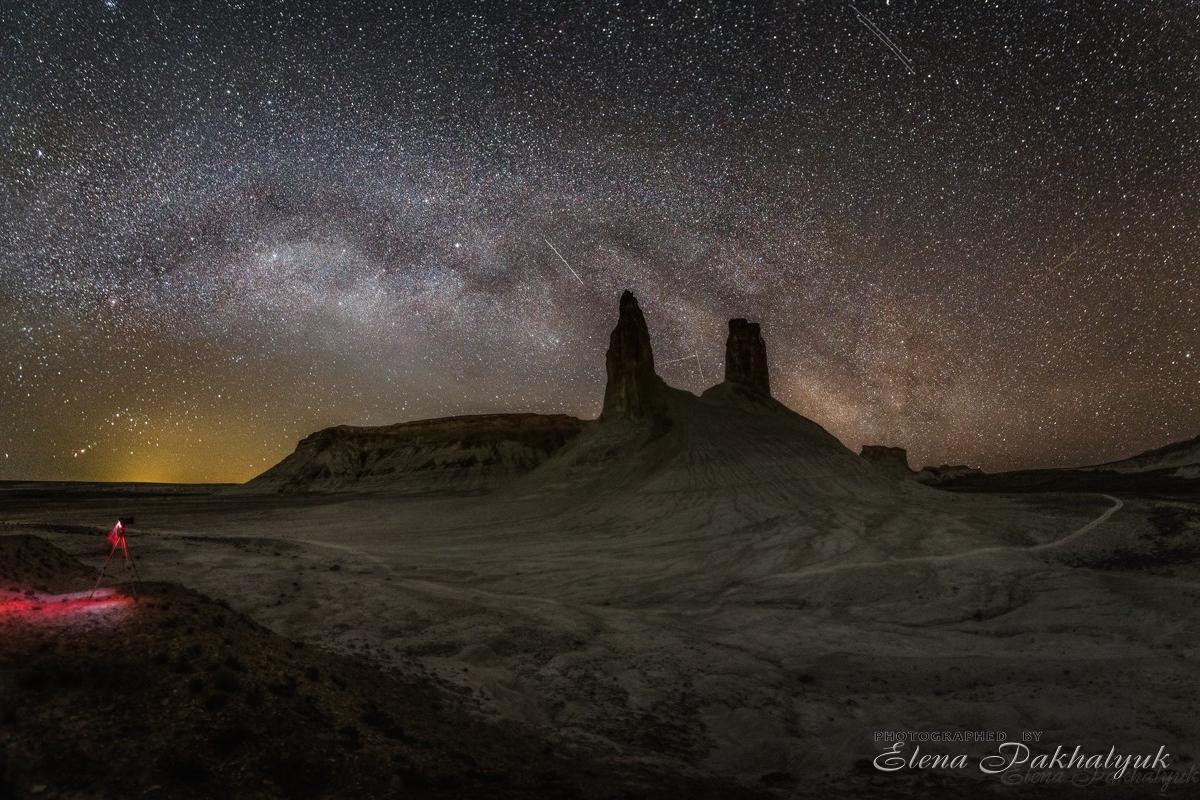
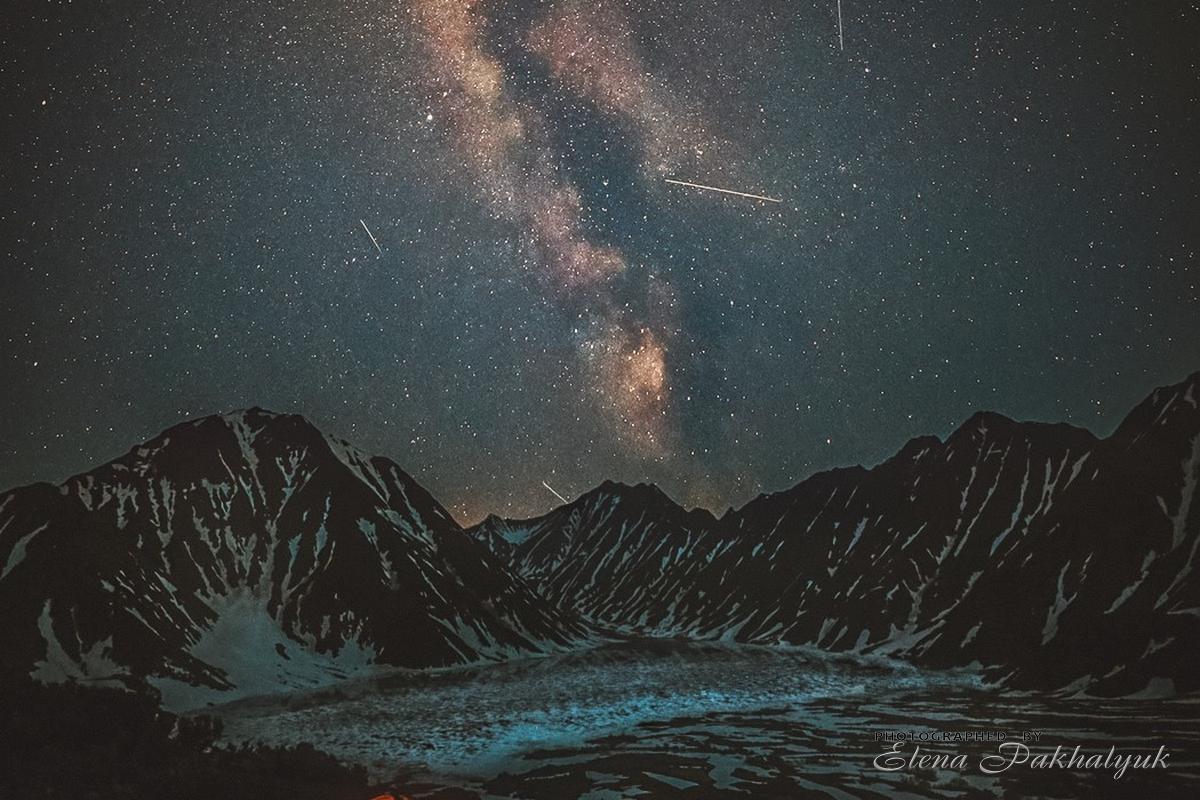
Try to pick a shooting location in advance, during the day. Think of what your future snapshot must be. Is there a risk of exposure from street lamps or passing cars? Where the Moon will be at the time of the shooting? If you want to shoot a starry sky, train in finding the Milky Way.
Below, I will list the major components of a successful night photo shoot:
- dark night (ideally, during the new moon phase, check the moon phase in advance),
- dark place excluding artificial sources of light.
What aperture settings to use?
If you have to shoot in almost complete darkness, then surely it makes sense to open the aperture as wide as possible, at least to f/2.8. If there are minor lights, optimal range will be values between f/8 and f/16. Note that for different lenses best values will vary.
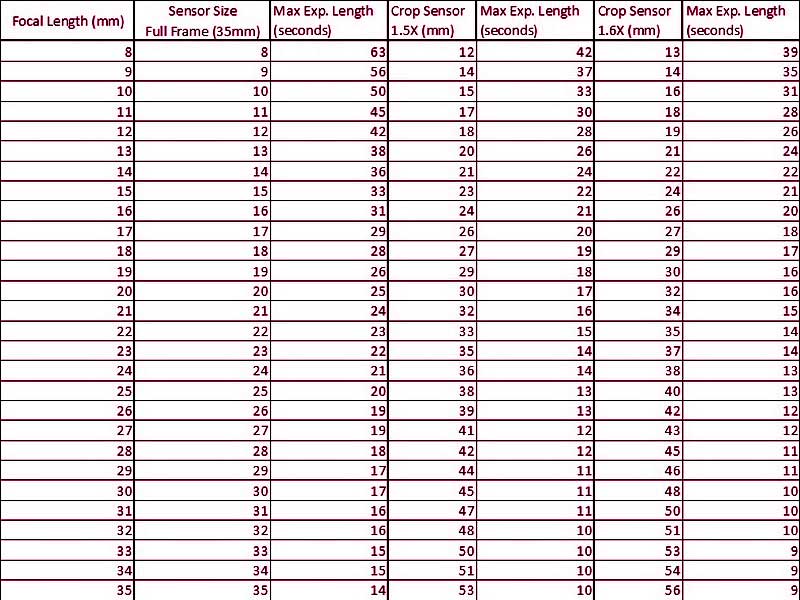
One more aspect is exposure time. This is where so-called ‘500 Rule’ works. It is widely used by many photographers when shooting the night sky. There is a variation, a ‘600 Rule’, but I prefer the ‘500 Rule’ because it gives more distinct images. What is this rule? To obtain the stars as clear dots in the picture, select the shutter time according to the following system: divide 500 by the focal length of the lens used. If the exposure time is longer then the picture will contain blurred areas. This rule is useful, but not inflexible. Everything will be fine.
You must use only manual (M or Bulb) shooting mode. Every photographer chooses optimal combination of aperture and shutter speed values empirically taking into account lighting conditions. If you shoot in the absence of any light sources, it is best to start with the aperture opened to maximum. Then adjust the ISO setting and exposure time. Using long exposure times, one can obtain a beautiful background blur and clear Milky Way picture. First, try to set the aperture setting to f/2.8 and gradually change this value in the range up to f/4.
Now, let us say a few words about focusing. Typically, when shooting the night sky, the lens is focuses at infinity. Try to take a couple of sample shots to set the proper focus value. If you want to photograph a clear object in the foreground, then double shot is the best option. First, take a picture of the object, and then focus at the sky and shoot it separately. Then, by simple gluing images in the editor, you can get the desired result, i.e. a clear object in the foreground and clearly legible background.
There is another little hack, which would facilitate focusing. Try using a magnifying glass installing it onto the display of your camera, then move the focus to the remote clearly visible object or a major star. Remember also that, for many modern lenses, focusing scale values do not match with the infinity value. Therefore, it is advisable to train focusing in more simple conditions in advance.
What ISO settings to use? The higher the working ISO value is, the better images you get. More often, I shoot in the range of 1600-6400. However, the range selection should be individual and take into account the particularities of specific optics. Excessively high ISO settings may adversely affect the quality of the finished photos. So, experiment beforehand.

How to get rid of the noise in your photos?
There are several basic ways. The first method is to take some pictures from the same angle and overlay the images. This will allow averaging the noise.
The second method is to make the first snapshot in the twilight, and the second one in the complete darkness. In this case, it is important not to move the camera.
If your camera supports a ‘Mirror Lock-Up’ function, use it. Night photography requires avoiding any camera shifts. Unfortunately, the mirror lift causes tiny shift. The said feature helps solve this problem.


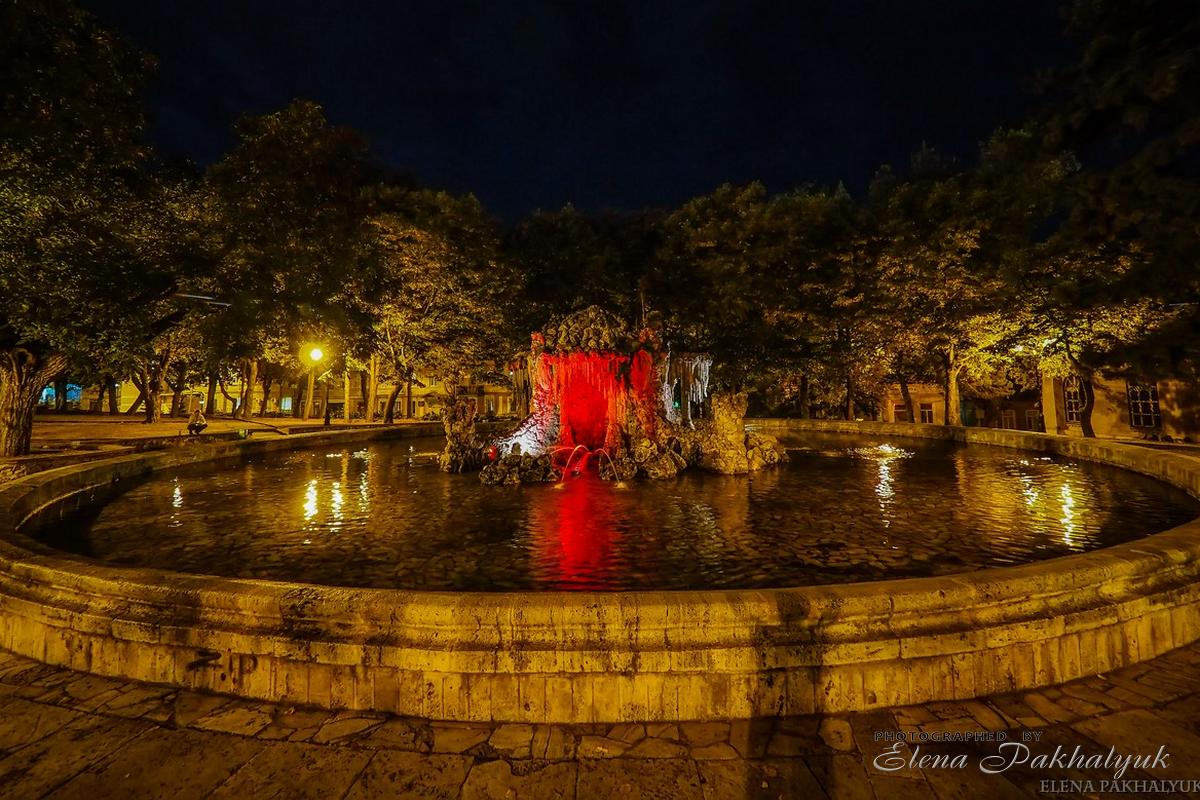
Additional Illumination during Night Shooting
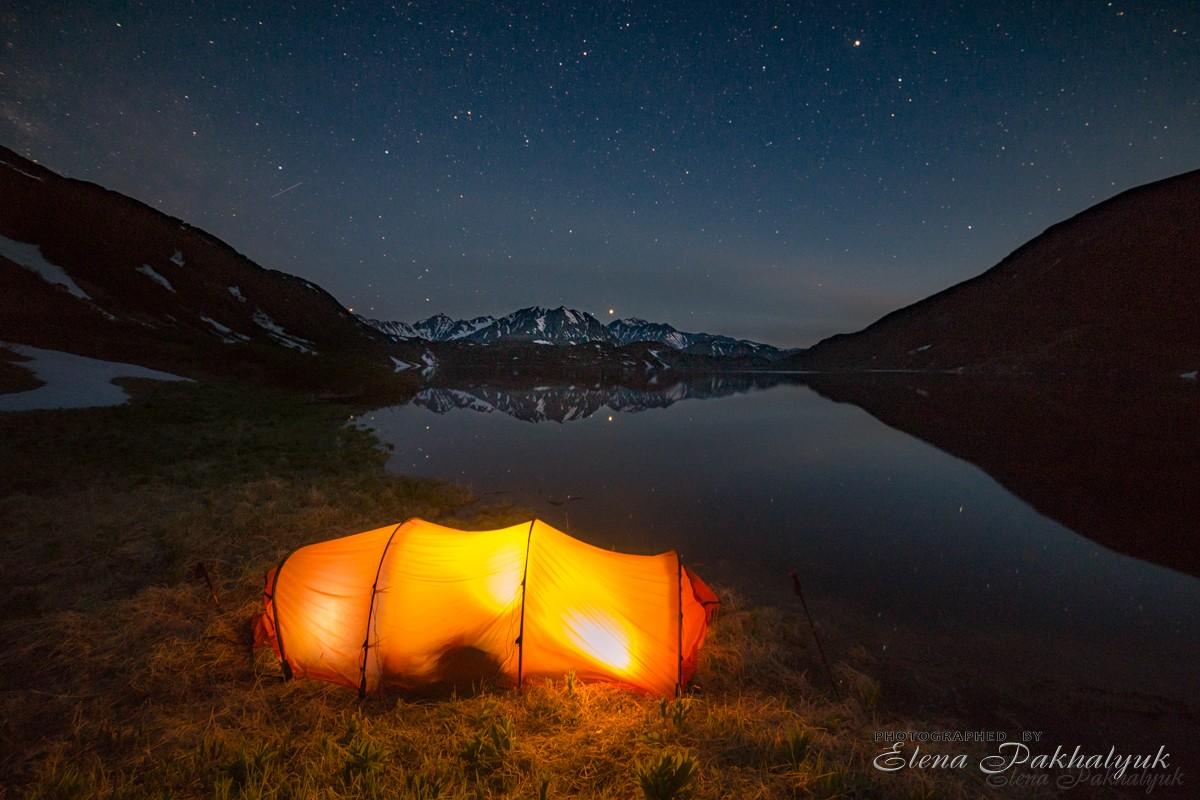
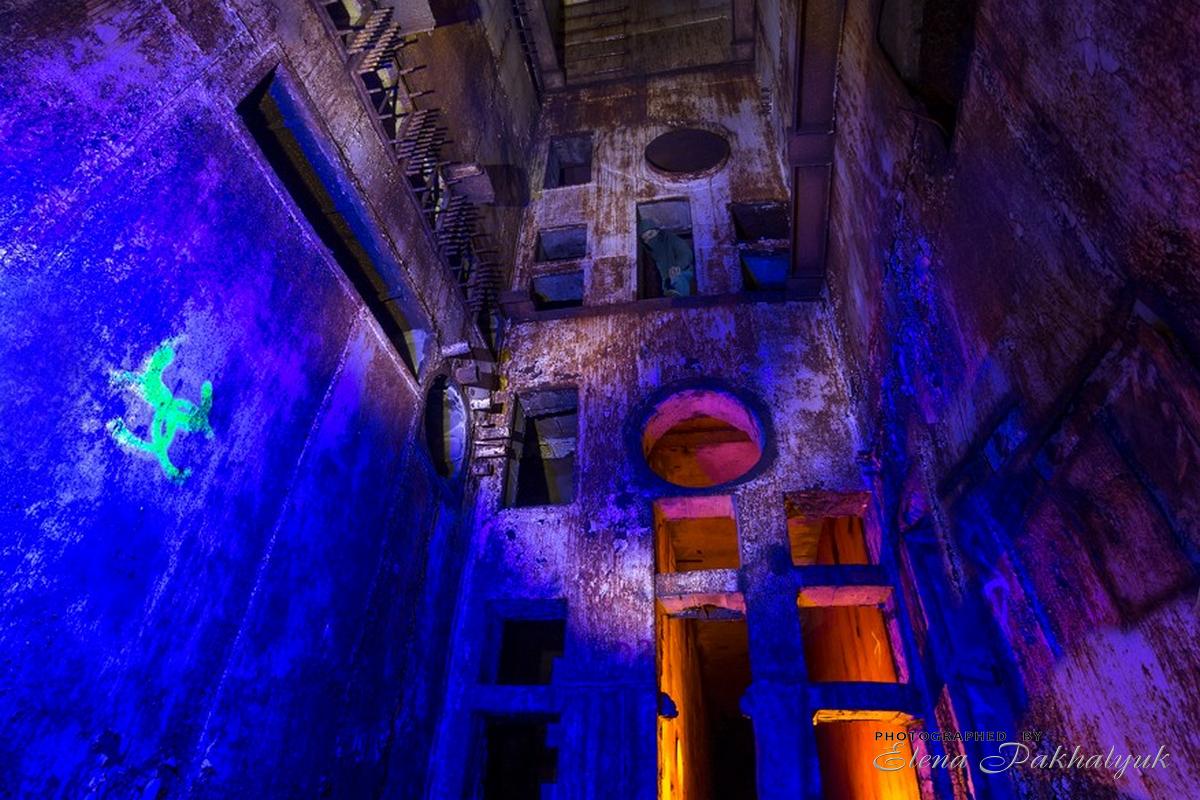
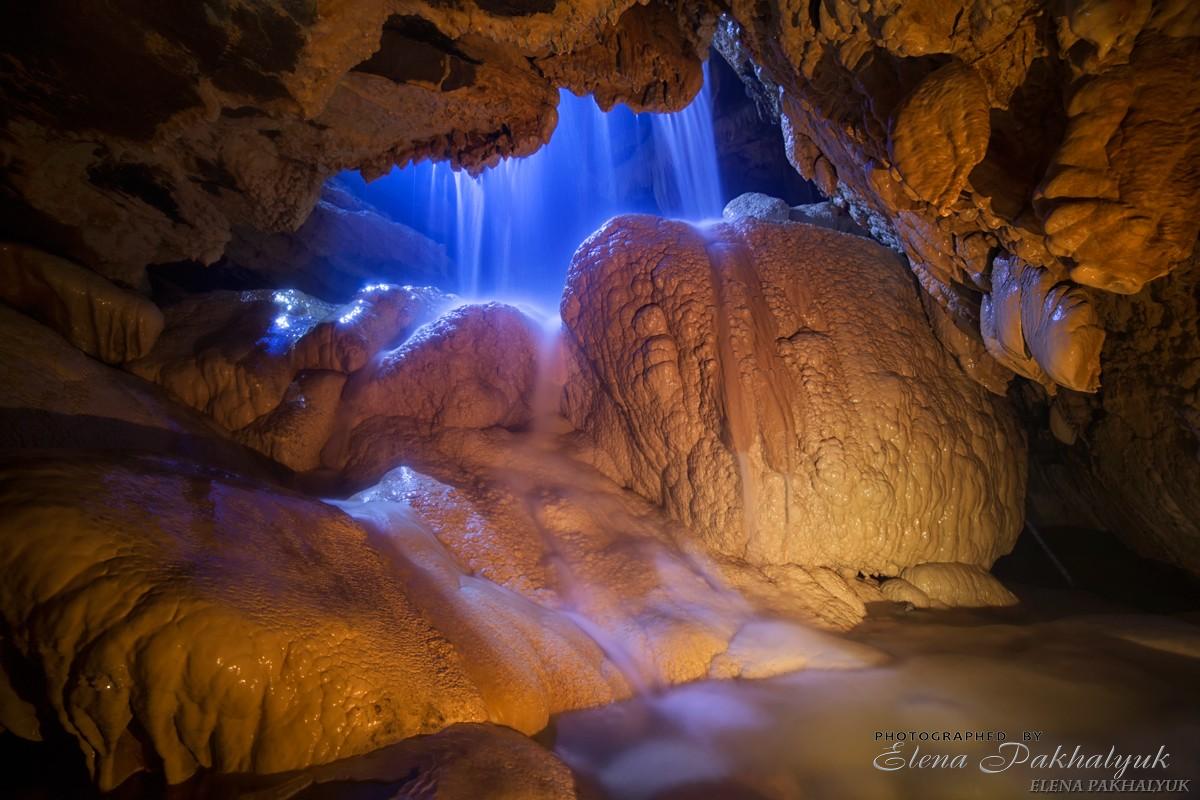
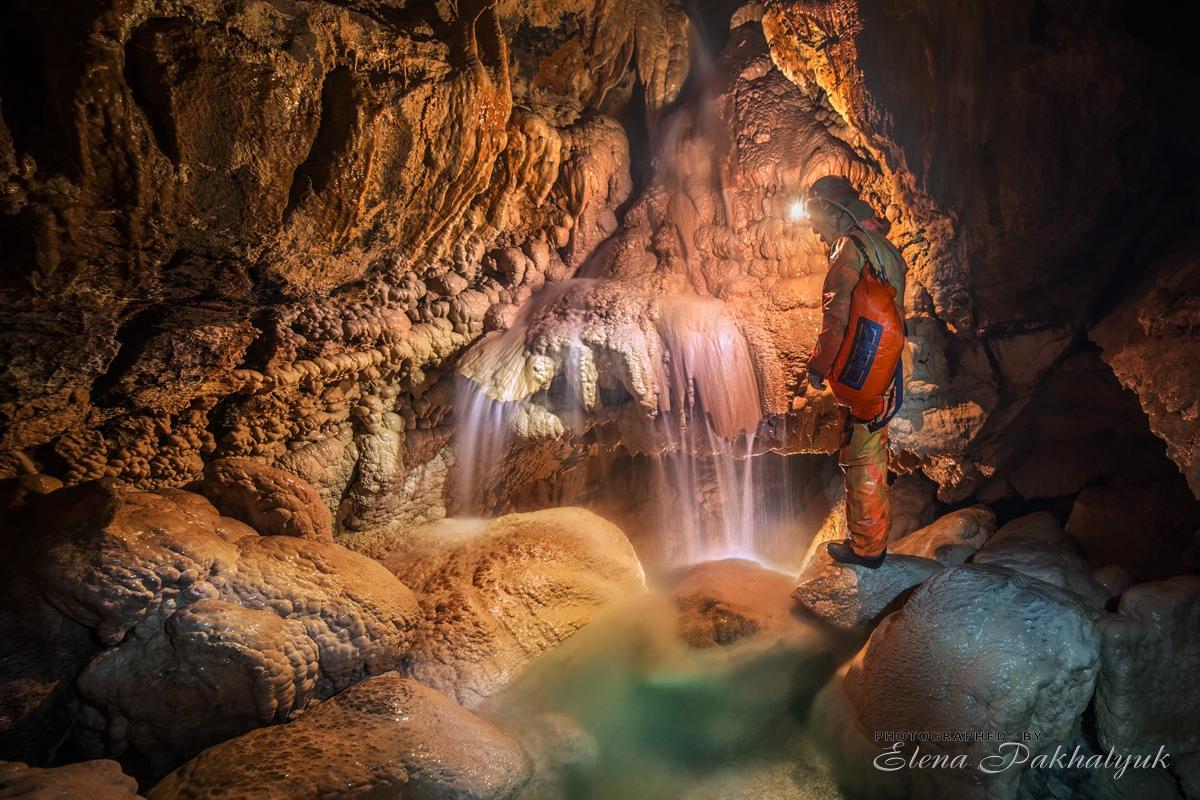
Often photographers use lamps to highlight the foreground. Using LED lamps result in cold light, so when you need to get warm light you can use special filters. Virtually everything you have at hand may serve as such (coloured bags, pieces of fabric, etc.). You can also purchase a special warm light lamp or a lamp featuring an additional red light. If you shoot inside the cave, you can use a carbide lamp, which gives rich, warm orange glow.
The Technique I Use to Shoot Night Landscapes
Here, I will list the devices I use. Please note that this is not a final recommendation, and the use of other equipment does not mean that your images will be worse.
- Camera: Canon 6D, 5D Mark IV; Olympus to shoot time lapses,
- Lenses: Canon 16-35 and 24-70, Samyang 14 f/2.8, Olympus Zuiko.
Moreover, I recommend installing apps for smartphones, which may be useful when calculating the optimal time of photography:
- Star Walk Astronomy Guide — free app for Android and iOS smartphones. This app is a comprehensive guide — map of the starry sky in real time. It is optimal, if you want to find the Milky Way or a specific star quickly,
- PhotoPills paid app — supports iOS only.
- Sky Map by Google is a useful utility that shows position of the planets and most of the constellations. It is free,
- Stellarium is an excellent star navigator for Android based smartphone owners; there is also a desktop version.
Finally, several helpful tips:
- before you start night shooting, switch off any stabilizers,
- be sure to monitor the electronic level,
- opt out of automatic noise suppression; otherwise, snapshot processing will take the camera quite a long time.
I wish you successful shooting and excellent pictures!